Portage: An Homage to Northern Minnesota's Boundary Waters

Earlier this summer, I made a piece for my sister Mia and her husband Nima, who live in Minneapolis. It’s inspired by the Boundary Waters in Northern Minnesota, a place that holds special significance to several generations of my family.

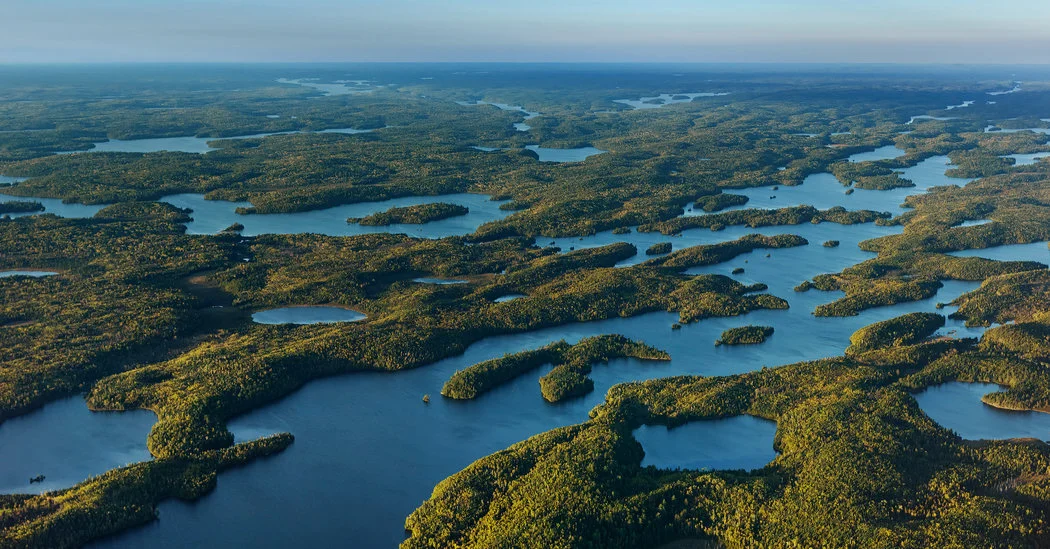
The Boundary Waters is a gorgeous network of forested land masses and tiny lakes in Northern Minnesota, on the Canadian border. Check out the aerial shot below — it’s truly stunning. My mom, who grew up in Minnesota, went backpacking and canoeing there every summer. “Portaging” is when you carry your canoe and gear overland to get to the next lake — a combination of canoeing and backpacking.

Christopher Payne for The New York Times

Christopher Payne for The New York Times

As adults, Mia and Nima have fallen in love with the Boundary Waters, and have returned there a number of times. A few years back, they hosted my whole family for a portaging trip. It was really special to connect with a place was dear to my mom as a child.

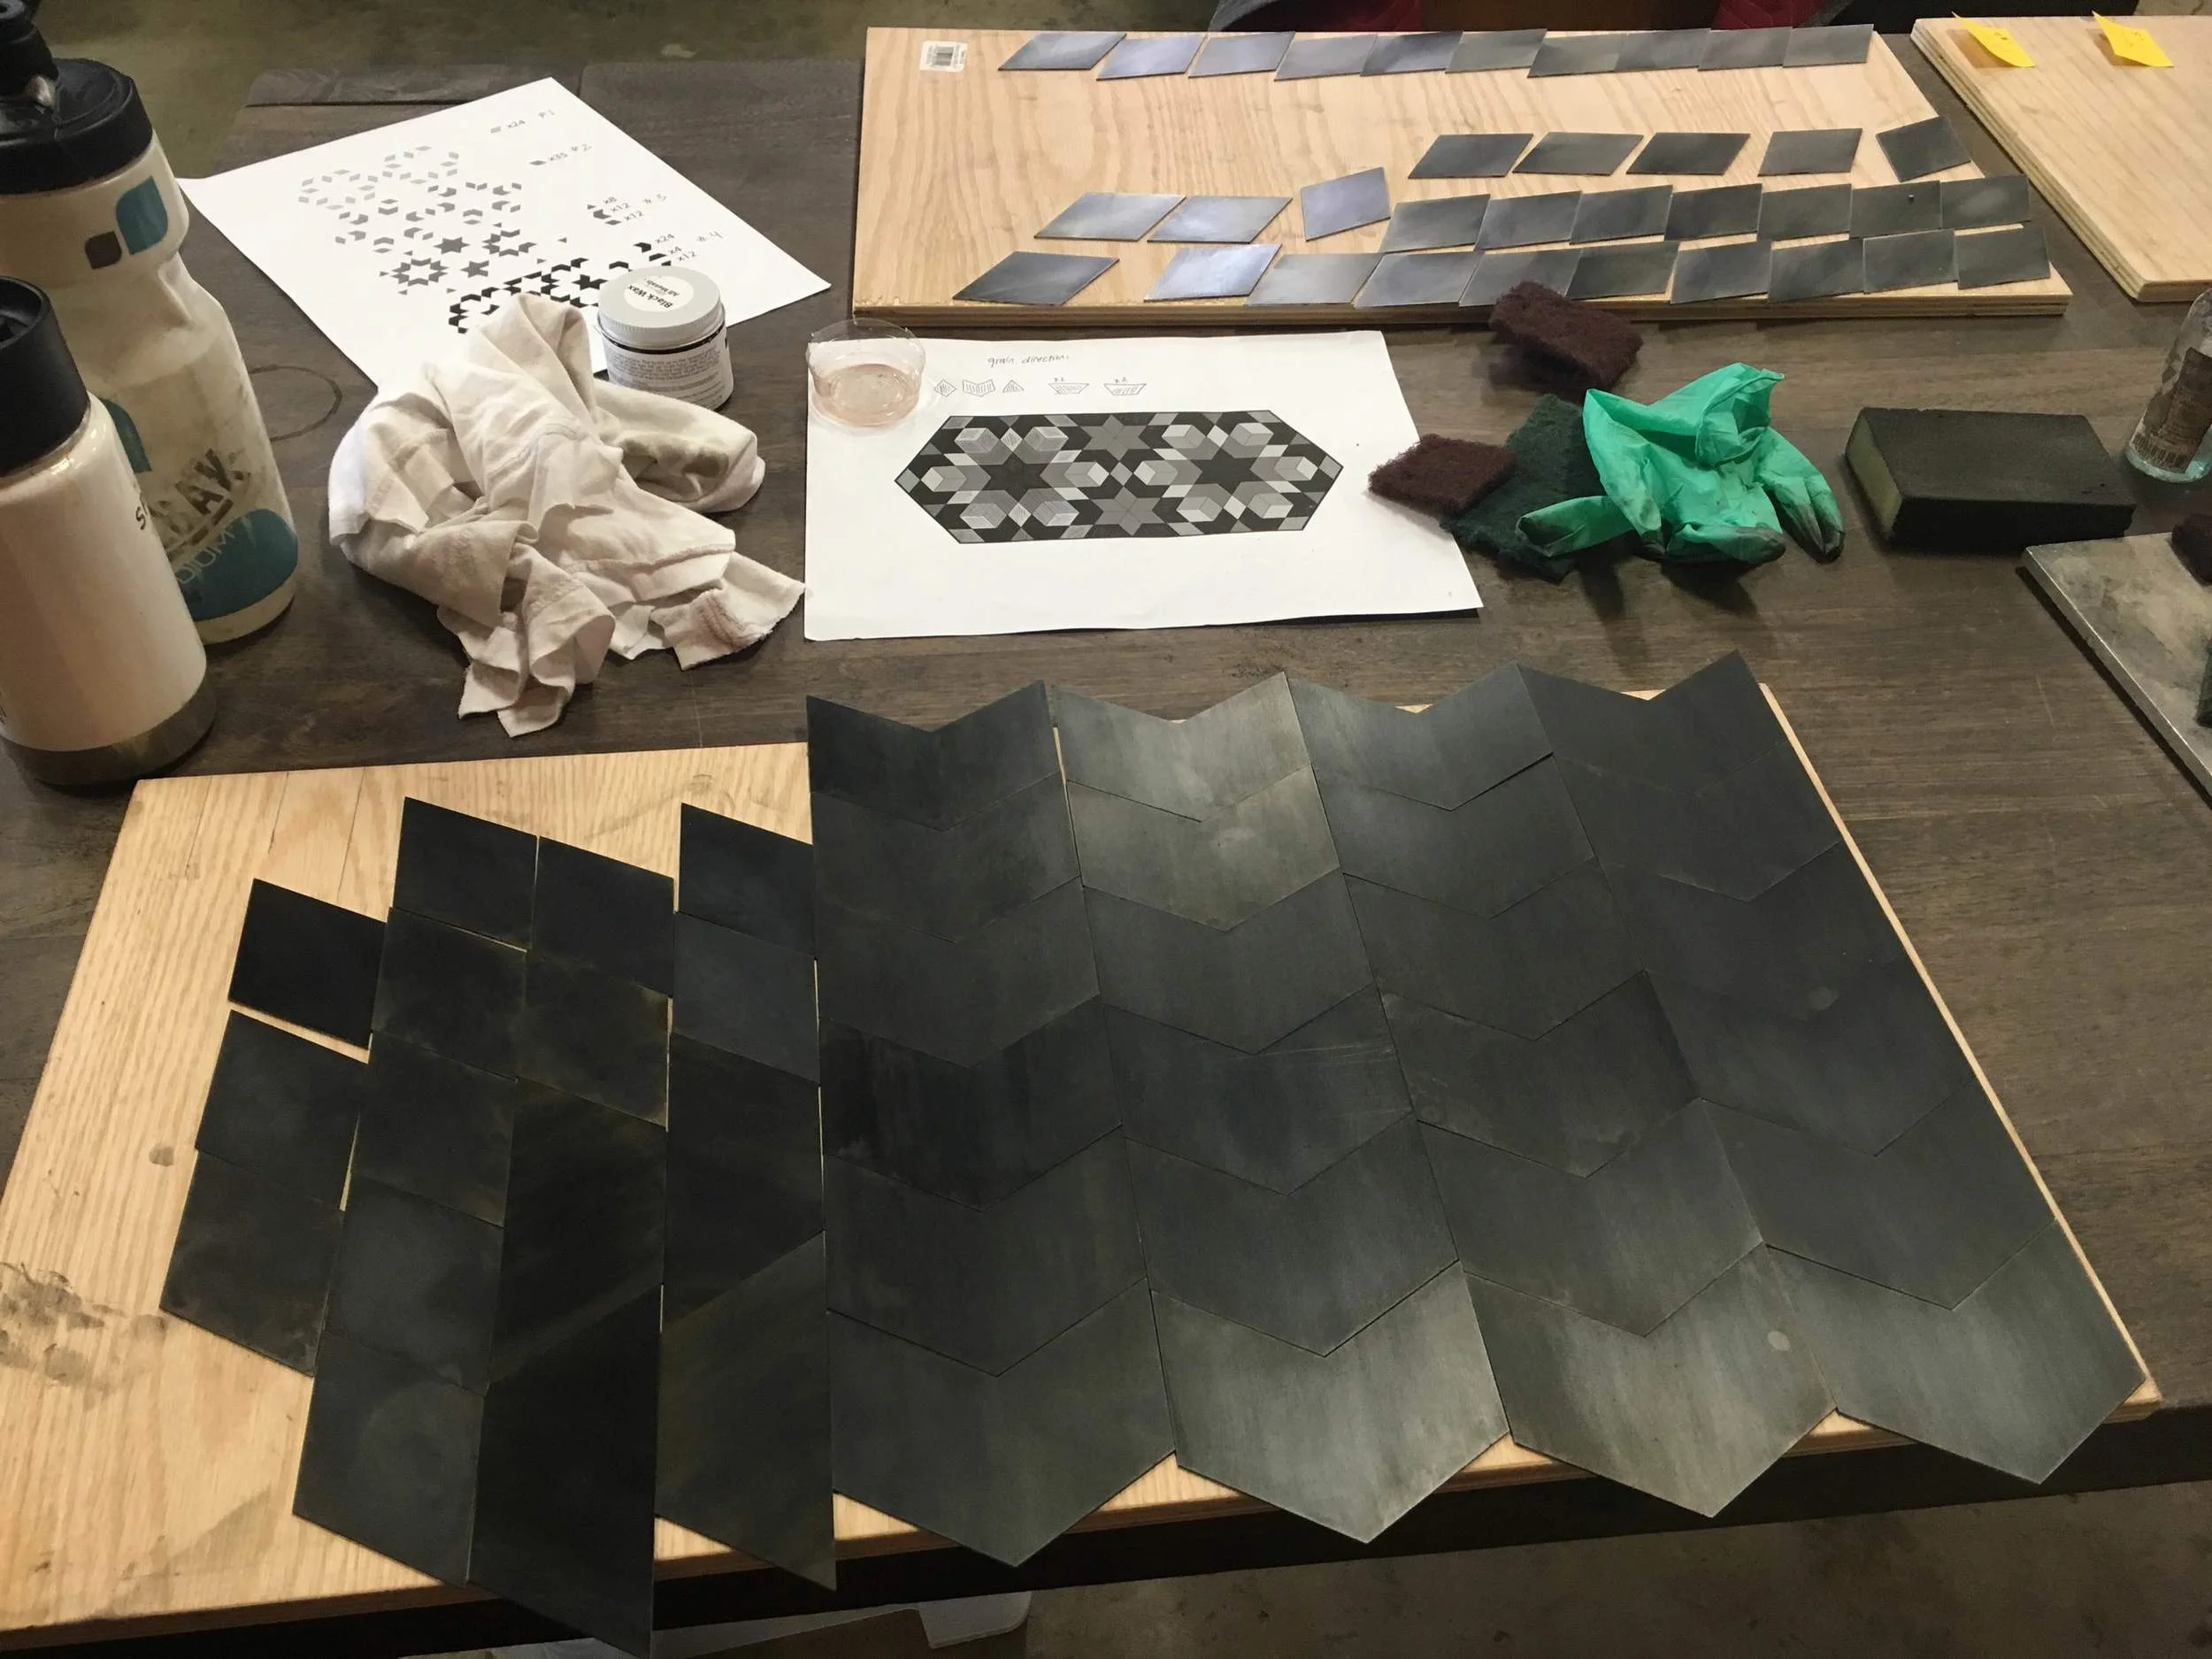
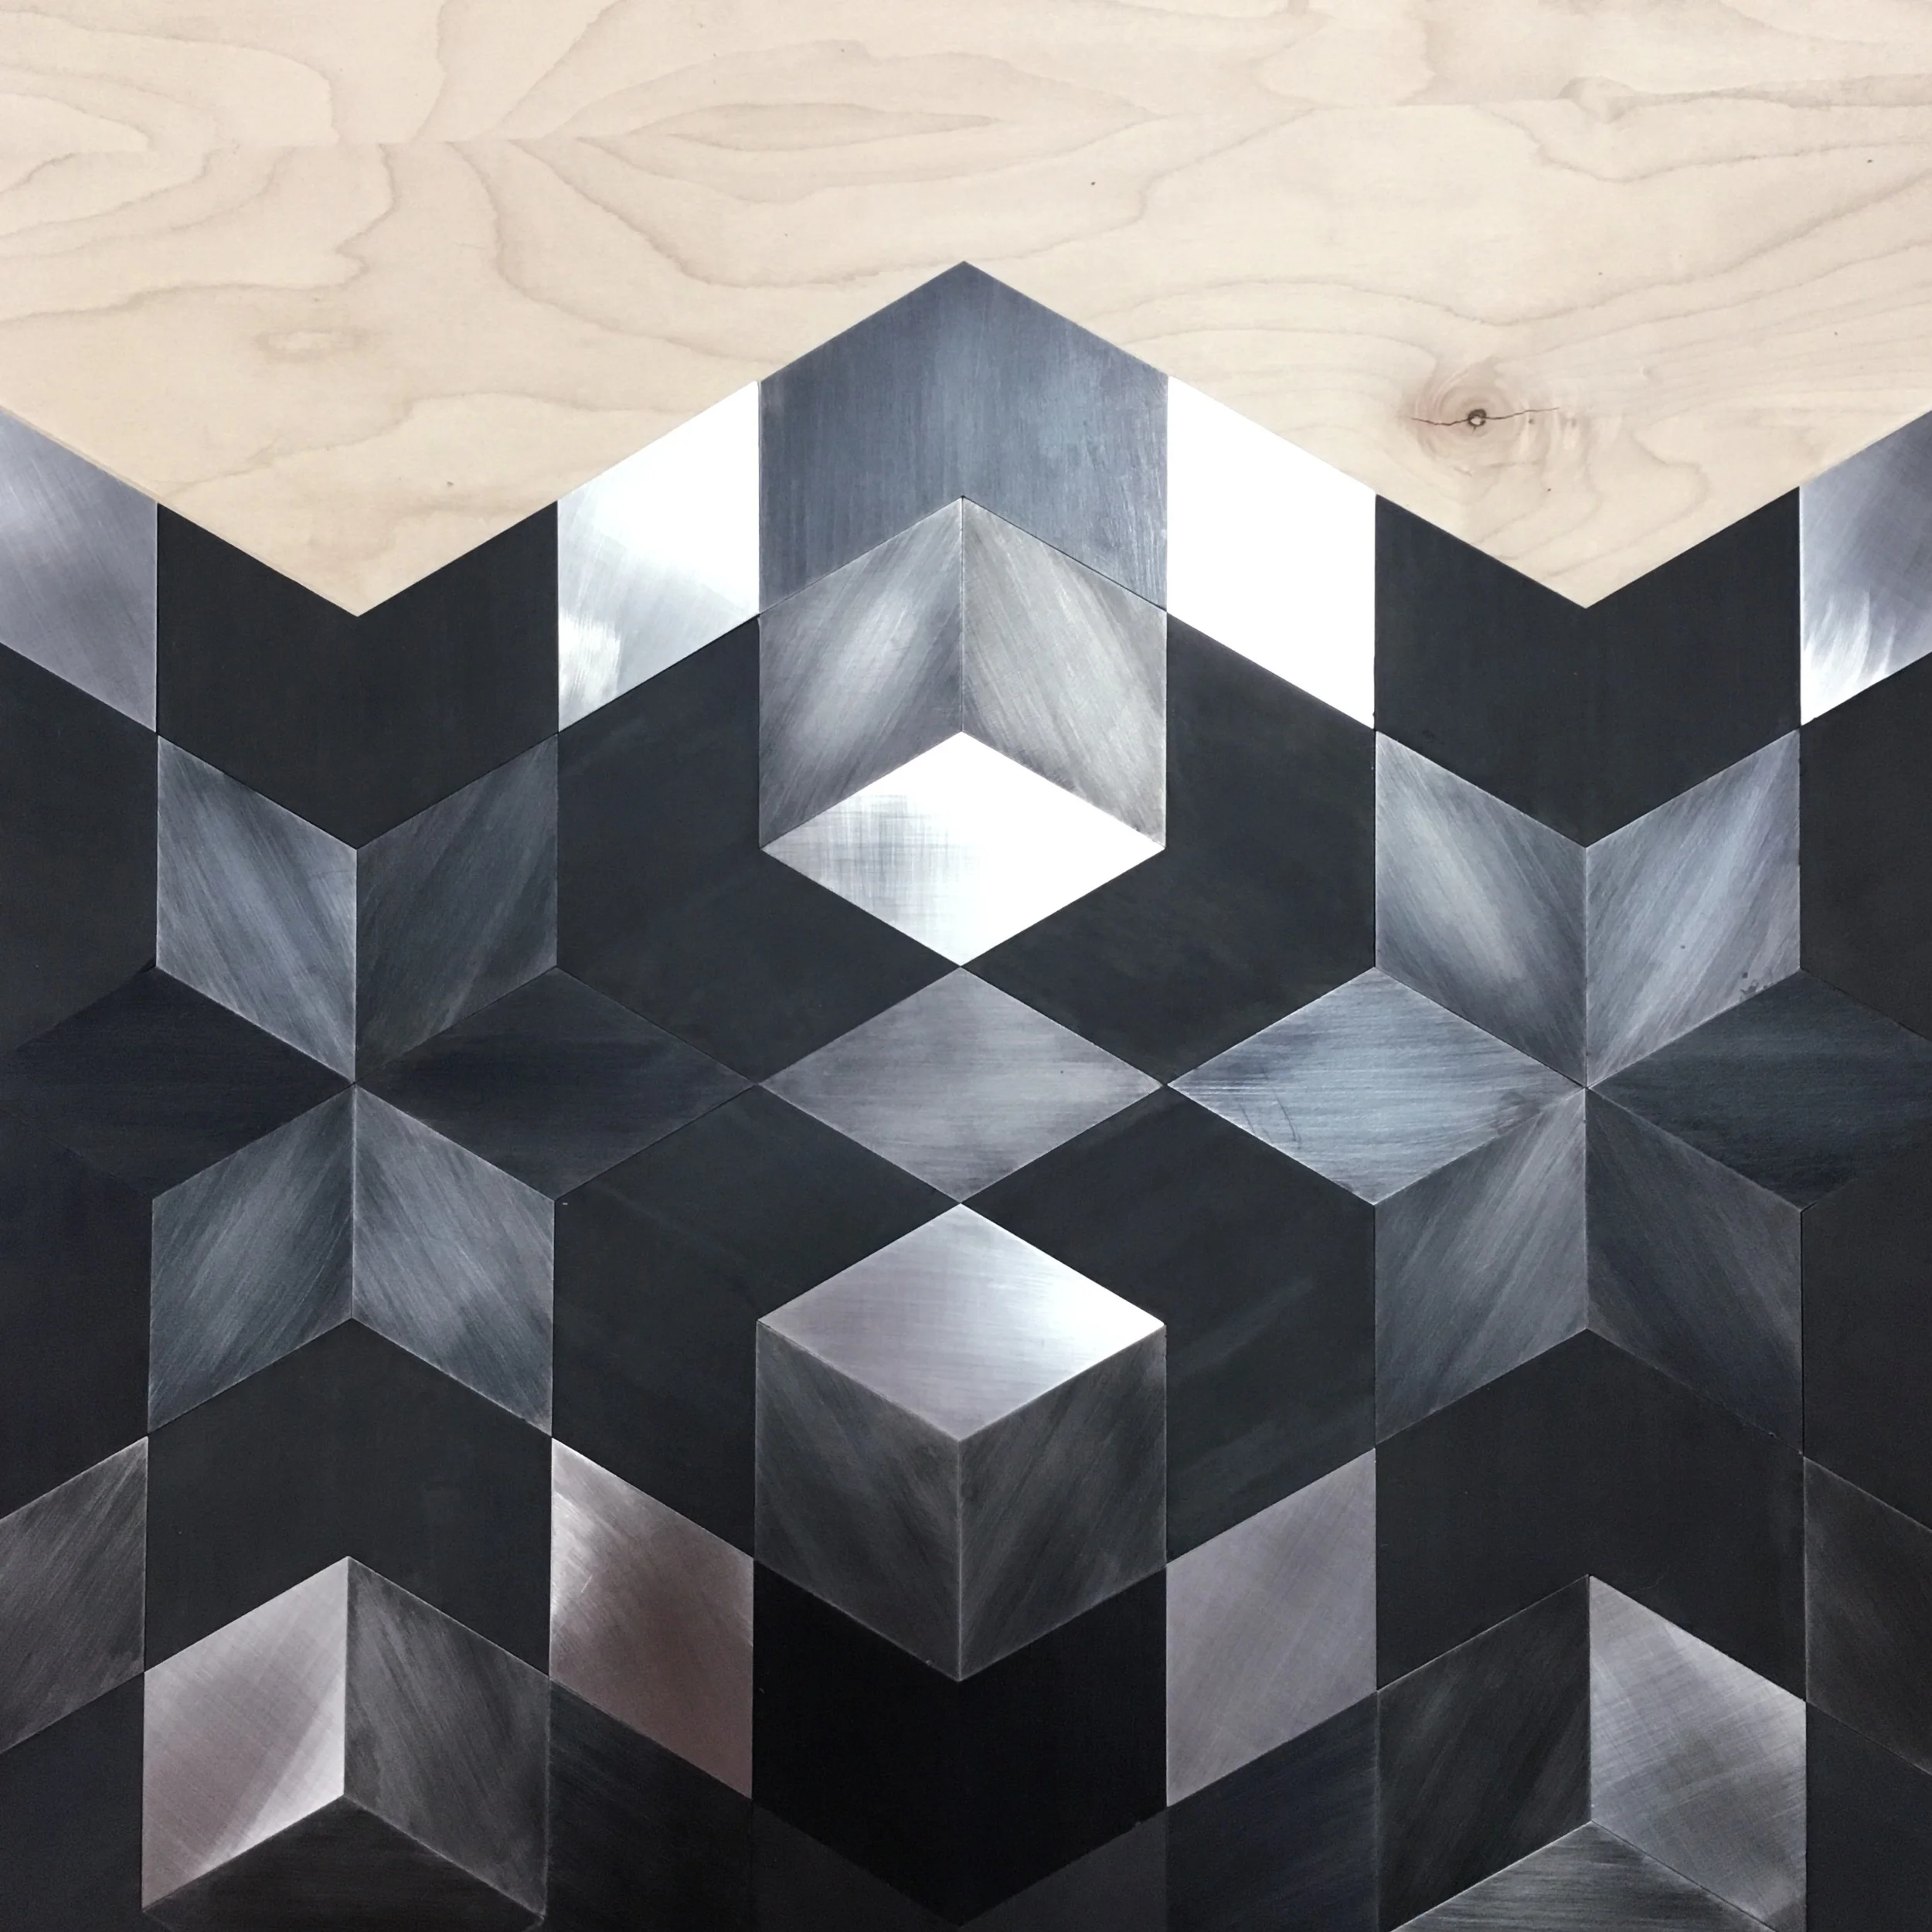
For this piece, I rolled hundreds of tiny cones out of paper and arranged them in an organic pattern inspired by the Boundary Waters. This 22x40” piece now hangs over Mia and Nima’s fireplace in their Minneapolis home.

Draco

Draco, 40” x 72” x 3”. This was a custom piece for a sweet San Francisco family to honor the birth of their second child. Like with Canis Major, holes were cut from the paper in the layout of stars in the night sky. But not just any night sky — this piece shows the sky over San Francisco at exactly 5:12am on May 8, 2019, the moment their child was born. This piece is named after Draco, the dragon constellation visible in this particular slice of the night sky. Thanks to Kilomade Studios for the elegant woodworking.

Installation at Square

I just finished this 10-foot long installation for Square! I’m so excited to finally share this with you! I’ve been a Square seller since I started my art business in 2015, so it was an honor to create a large piece for their San Francisco Headquarters.

This piece is a balance of order and chaos. Each strip is pleated in a repeating pattern, but the strip size and scale varies randomly across the piece. I actually used a random number generator to randomize the strip order. Humans are notoriously bad at artificially creating random sequences, so I didn’t trust myself to wing it! (The only rule I added in was no repeats — I didn’t want adjacent strips to be identical.) From afar, it reads as organic and textural. Up close, the orderly patterns emerge.

In case you were wondering what 6,000+ folds might look like, this should give you a good sense!

Maple Loop for an Interior Designer's Home

I recently made a Maple Loop for a San Francisco-based interior designer's home. His taste in decor is obviously impeccable, so getting a commission from him -- for his own home, no less! -- was an honor.

If you'd like to discuss a custom piece of your own, get in touch through this form

Decking Out a San Francisco Hedge Fund Office

Just wrapped up my biggest job to date: Six custom wall hangings for a San Francisco hedge fund office! These photos are from before the installation, so stay tuned for pics of the pieces in their beautiful new homes. 

Here's Maze, a giant triptych for their main conference room:

And here are the three pieces in the Folds series:

If you're interested in a custom piece for your office or home, email me at zai@elektrasteel.com.

Curves Ahead

I recently wrapped up this curvy, custom ribbon, and shipped it off to its new home in New Haven, Connecticut. My clients, Marc and Horacio, were wonderful to work with. Marc was one of my professors at Yale (he runs the Yale Center for Emotional Intelligence) and his husband Horacio is a talented documentary filmmaker. Their request for flowing, organic shapes pushed me out of my comfort zone a bit -- I can't remember the last time I made anything with curves! I love how this piece turned out, and I'm looking forward to exploring curves in future pieces.

Some behind-the-scenes photos from the process of designing and fabricating this piece:

Interested in a custom piece for your home or office? Email me at zai@elektrasteel.com and let's discuss!

Custom Piece for Michael & Salma

I recently wrapped up a commission piece for a wonderful couple, Michael and Salma. They were so much fun to work with, and I’m really happy with how the piece turned out!

Michael Wornick in front of two Orozco pieces from his collection.

I met Michael at Renegade Craft Fair in April — he came by my booth and struck up a conversation. We chatted about art and design. He's an art collector who owns a number of sketches by Mexican muralist José Clemente Orozco. He and his partner had just bought a beautiful home in Sonoma, California, and they were looking for something bold (and fairly heat-resistant) to hang over their fireplace. 

During our conversation about what kinds of imagery he’s drawn to, he mentioned that he loved the kinds of patterns found in Islamic art. He also said that he liked my aesthetic, and didn’t want to give me too many restrictions or guidelines — he wanted to see what I’d come up with (#dreamclient).

We explored a couple different design directions together. The clear favorite was a pattern of tessellating diamonds. The inspiration for this design was a photo I’d found of a carved stone screen from a temple in Jaipur called Chandra Mahal. (I only later figured out that I had actually visited that very temple a few years ago with my family!) 

Below are some process photos: the reference image I started with, some sketches in my notebook, a CAD drawing, the lasercut steel parts, an array of parts in various stages of sanding, staining, and waxing, and finally, the assembly. 

Interested in a custom piece of your own? Fill out this form and let's discuss!

The Mood Meter

I just finished up a custom piece with an extra special backstory: Two of my mom's colleagues hired me to make an anniversary gift for my own parents -- as a surprise!

My mother, Diana Divecha, next to the piece I made for her and my dad

My mom, Diana Divecha, is a developmental psychologist who works with the Yale Center for Emotional Intelligence. She and her colleagues, Robin Stern and Marc Brackett, publish editorials, speak at conferences, and educate experts about how social and emotional learning programs benefit kids and teens. When Robin and Marc came to me with the idea for a custom piece for my parents, their only request was that I create a representation of the Mood Meter.

The Mood Meter is one of the central tools in RULER, the emotional intelligence curriculum developed at the Yale Center for Emotional Intelligence. It's a graph that helps people identify and articulate their emotions. The x-axis plots how positive or negative the emotion is, while the y-axis plots energy level. This results in four distinct quadrants: 

  • Red: Emotions that are unpleasant and high in energy, like anger, frustration and anxiety
  • Yellow: Pleasant and high in energy, like excitement, joy and elation
  • Blue: Unpleasant and low in energy, like boredom, sadness and despair
  • Green: Pleasant and low in energy, like tranquility, serenity and satisfaction

Robin and Marc gave me tons of creative freedom with regard to the style, aesthetic, and materials, which was such a treat for me! I ended up creating a large, square mosaic made out of sheet steel. I took the graph and tipped it on a corner -- diamonds felt more dynamic than squares. If you've seen my work before, you probably know that my color palette is pretty subdued (both my portfolio and my closet could be described as "Fifty Shades of Gray"). I used a variety of finishing techniques -- staining, sanding, sandblasting, waxing -- to create tones in the steel ranging from bright silver to a dark slate gray. There's a subtle ombré from bottom to top: The lower half of the piece is a bit darker, to reflect lower-energy emotions, while the upper half has brighter, shinier steel tones, to symbolize higher-energy emotions. Robin requested small splashes of color as a nod to the Mood Meter, so I painted four small triangles with the original quadrant colors. Lastly, I welded a simple frame out of steel flatbar to give the piece a polished edge.

Needless to say, my parents were pretty stunned when they saw the piece -- they couldn't believe that Robin, Marc, and I had managed to keep this project a secret from them for months! It wasn't easy, though. I'm very close to my parents, and there were many times when I was tempted to gush to them about what I was working on. But I kept my lips zipped, and they loved the surprise!

"That you were able to create a piece of art that expresses our love and appreciation for you and your family brings great joy and satisfaction to us," wrote Marc. "It’s a gorgeous piece of art with a subtle reminder that each day thousands of children and adults are learning the skills they need to become talented and caring people." 

Want your own custom wall hanging like this? Email me and let's discuss!

Customer Spotlight: La Bijouterie

I designed and fabricated these three Marble Prism Stands for La Bijouterie, my favorite jeweler in San Francisco. I met Set, the owner, because he designed and made my beautiful engagement ring. A few months later, he hired me to make these stands for his window displays!

In case you're curious to see the piece that Set made for me, here's a photo of me rocking my gorgeous new ring in the metal shop:

Want a Marble Prism Stand for yourself? There's one available in my shop, and if you'd like a custom one, email me and we'll make it happen!

Fifteen Centerpiece Geo Bowls

I spent the last two weeks designing and fabricating 15 custom geometric bowls for a global tech company based in San Francisco. Their annual client and developer conference is coming up in a few days, and the bowls will be used as table centerpieces.

A friend on their events team had seen a photo of the geo planter I made a few months ago, and reached out to see if the design could be customized for their needs. I'd never done a production run this large before, but I was excited for the challenge.

Here's how I made the bowls!

First, I created a 3D model of the design in SketchUp. I started with a dodecahedron (my favorite platonic solid) and modified it to create an open, faceted bowl. As soon as I got the thumbs-up from the client, it was time to waterjet cut the pieces. I used Adobe Illustrator to create a vector line drawing of all of the pieces that I'd need to cut out of stainless steel sheet.

The last time I made a piece like this, I did all the waterjet cutting myself, which was time-consuming because I was still learning. Due to the scale of this project, I decided to outsource the cutting. So glad I did! The company I used, Triton Waterjet, was super pro -- clean edges, no burrs or tabs, flawless steel, and quick turnaround time. Here are one hundred pounds of beautiful pentagons, ready to go:

And then the welding marathon began! I started by tacking the faces together at each vertex. A number of metalworkers have asked me how I clamp down the pieces for this type of project. I actually don't use clamps or jigs at all. Instead, I just prop up the pieces on a block -- or even hold them together with my gloved hands -- and do a quick flash-tack to join the pieces. Then I bend the pieces into the correct angle before continuing to weld.

Once the form was tacked together, it was time to weld all the edges. TIG welding is my absolute favorite part of metalworking, and I was thrilled when the moment finally arrived to lay down a bead. And then another one. And then another one. And then another one...

Stainless steel is one of my favorite metals to work with because it welds cleanly and makes shimmery rainbows patterns.

Here's what the bowl looked like after welding all the edges.

For those of you who are really curious about this whole process, here's a four-minute time-lapse video of me tacking and welding a bowl.

Aaaannnd repeat x15!

It was both luxurious and exhausting doing nothing but weld all day long. I welded all fifteen bowls in two and a half days, which is definitely some sort of personal record. What's interesting is how much I improved over the course of the project: When I made the initial prototype, the welding took me six hours (lots of trial and error!). Bowl number one took two and a half hours to weld (better, but still learning). By bowl number four, I'd gotten it down to 40 minutes (I'm a machine!!). I learned a lot about efficiency and scale with this project!

Once the bowls were assembled, it was time for sanding and buffing. I like this step because it's like the big reveal -- I finally get to see the sharp jumble of sheet metal transformed into the lovely and smooth piece I'd envisioned in my mind. For sanding and buffing, a variable-speed angle grinder is my best friend. I started with an 80-grit flapwheel disc to sand down the welds, and then went over the entire outer surface with a Scotch-Brite disc to give it a satiny sheen. 

Here's a time-lapse video of me sanding and buffing a bowl. It shortens 45 minutes of elbow grease into a snappy 35 seconds. 

Not gonna lie, I was physically exhausted after sanding all 15 bowls. The weight, vibrations, and centrifugal force of the angle grinder did a number on my forearms and hands. My neck ached from bending over, and I was covered in a fine layer of metal dust at the end of each day. It was a relief to finally move on from this stage!

For the last step, I gave each bowl a coat of clear metal wax, which hardens and cures after being buffed. A protective sealant isn't really necessary for stainless steel, as it won't rust or tarnish, but I like the way wax looks. It gives the piece a little extra sheen, and it keeps fingerprints from appearing on the surface.

Here's a close-up of the bottom of a bowl, on which I'd stamped my company name, letter by letter. I had recently gotten coffee with Meyghan Hill from Whorehaus Studios (she's a kickass LA-based designer, welder, and business woman), and when chatting about this project, she insisted that I mark each piece with my company name -- brilliant. I immediately ordered metal alphabet stamps for myself. Thank you for the tip, Meyghan!

And here's a photo of the bowl at the conference!